ASUS X54HY Power Jack Repair
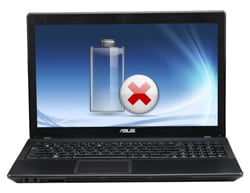
Here we gonna present the procedure how to repair a broken power jack on a ASUS X54HY laptop. As a consequence of the broken power jack, the laptop battery don’t charge so the laptop don’t power up after the battery is drained.
Power jack failure is common problem on ASUS X54 series, so here we gonna explain the procedure how to do it yourself .
How to determine that the you have the problem with the power power jack. If your laptop don’t chard the battery, first thing you check is the power adapter. If the output voltage is correct, then we inspect the laptop.
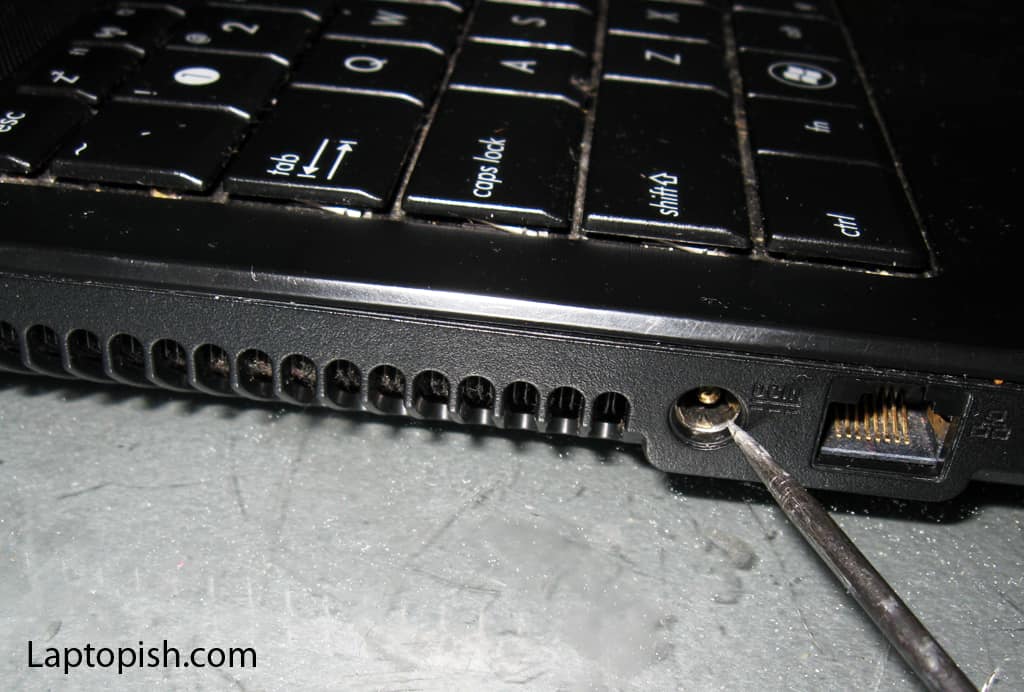 With thin tool we try to move the power jack. If the power jack easily move from its position, that mean that we have problem with the power jack and we need to open the laptop and repair the power jack.
First we need to be sure that the battery and the power source are removed from the laptop.
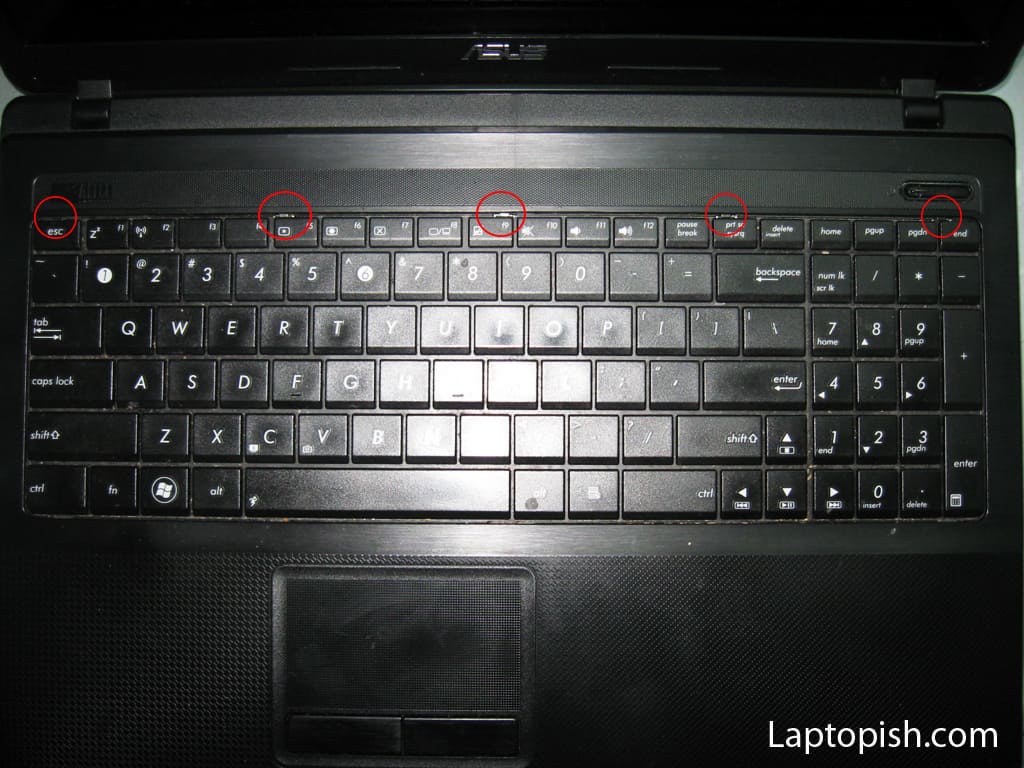
After that we need to remove the keyboard. There are couple of gouges that hold the keyboard and need to be pressed as shown on the next picture so how can release the keyboard.

On the next picture with red circles are shown the gouges.
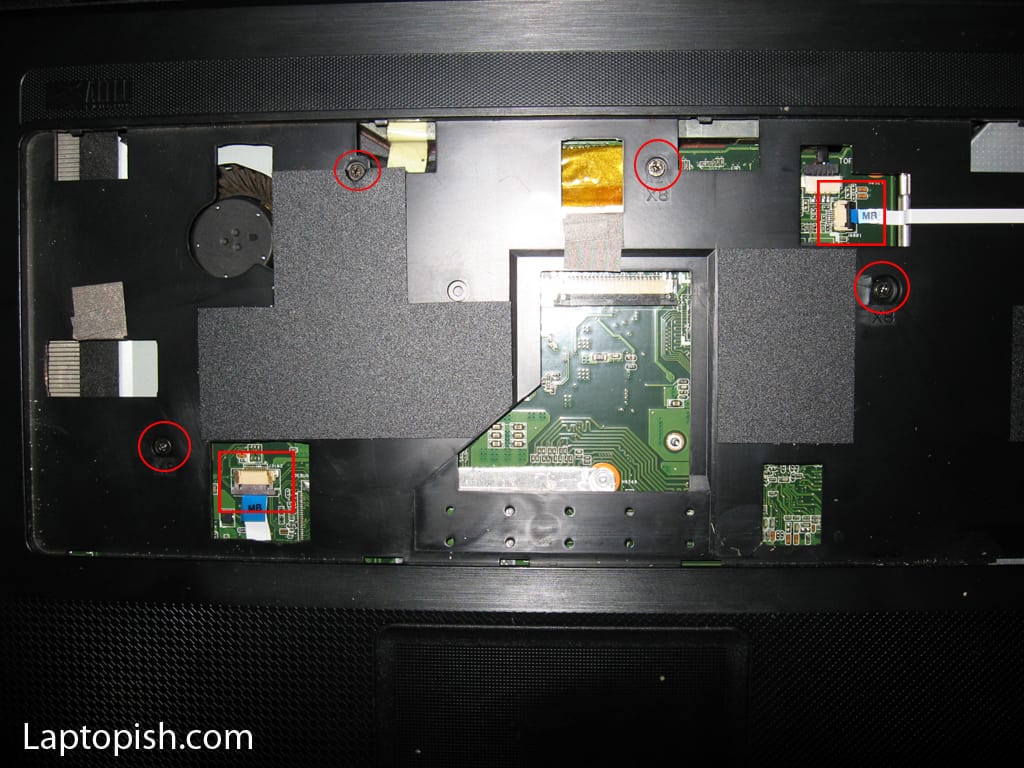
After the keyboard is released, we need to detach the flat cable as shown on the next picture.

After that we detach also the two cables assigned with red square and remove the four screws assigned with red circles on the next picture.
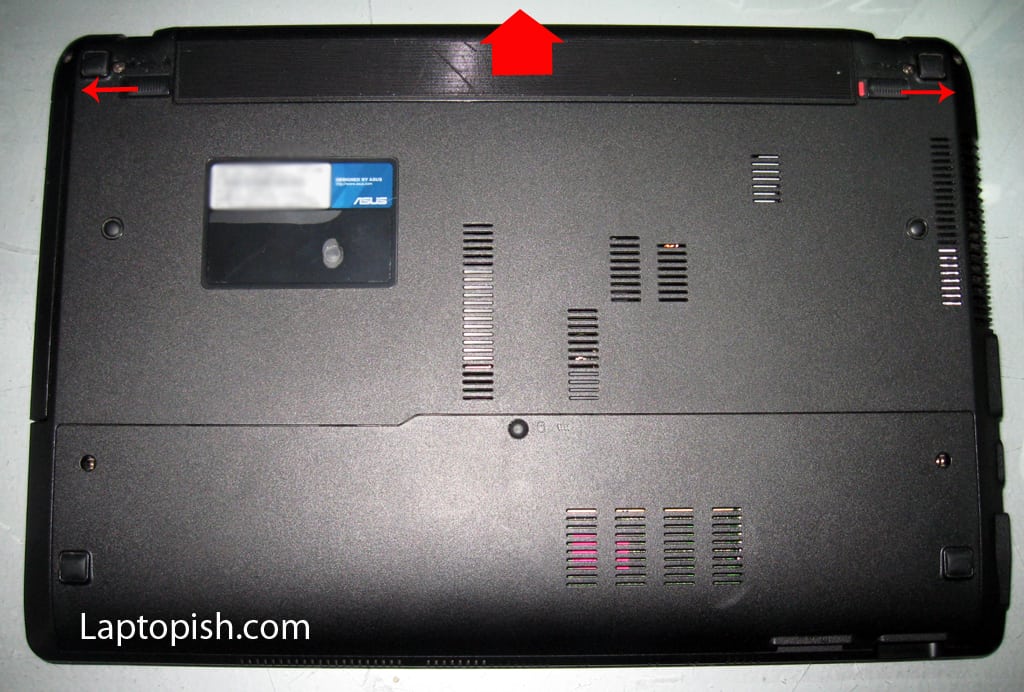
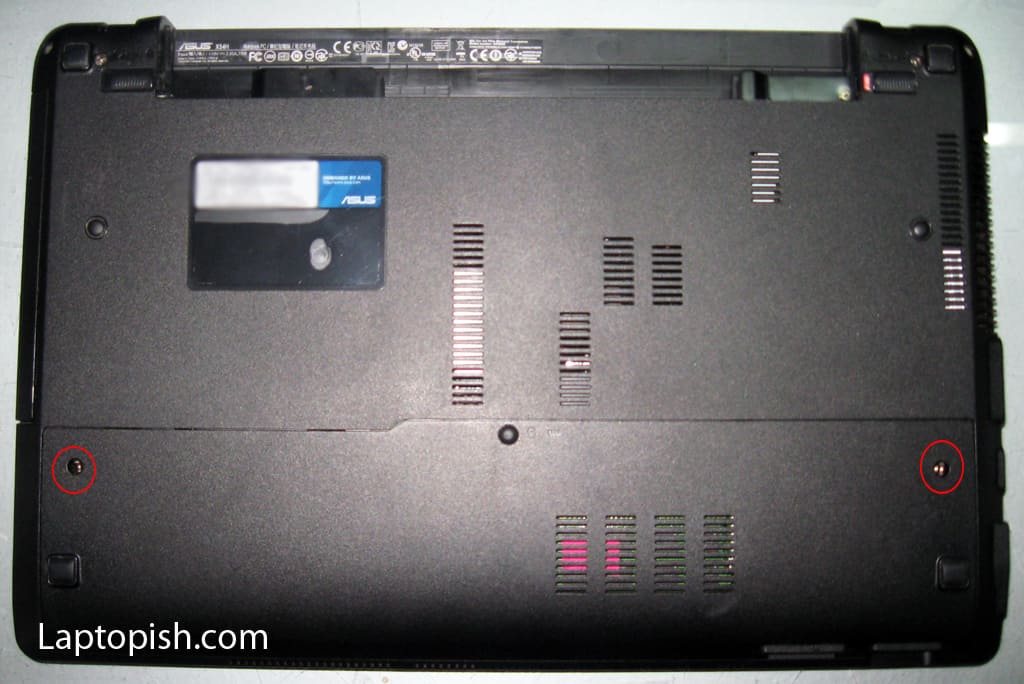
 After that we flip the laptop from the bottom side.
First remove the two screws on the cover
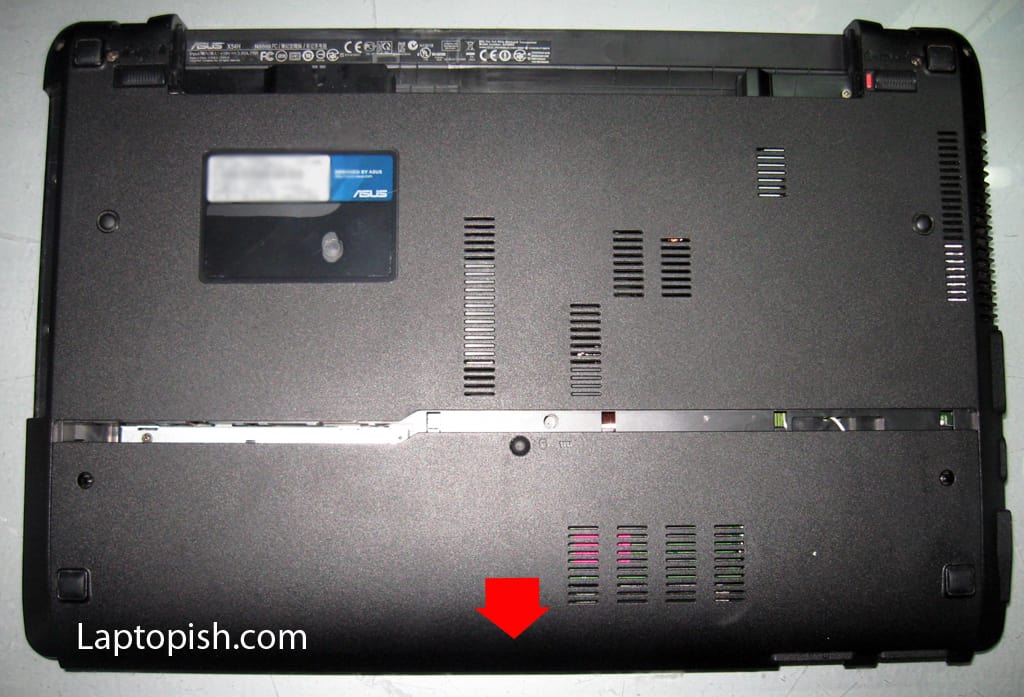
 and after that the cover can easily be removed in the direction of the red arrow.
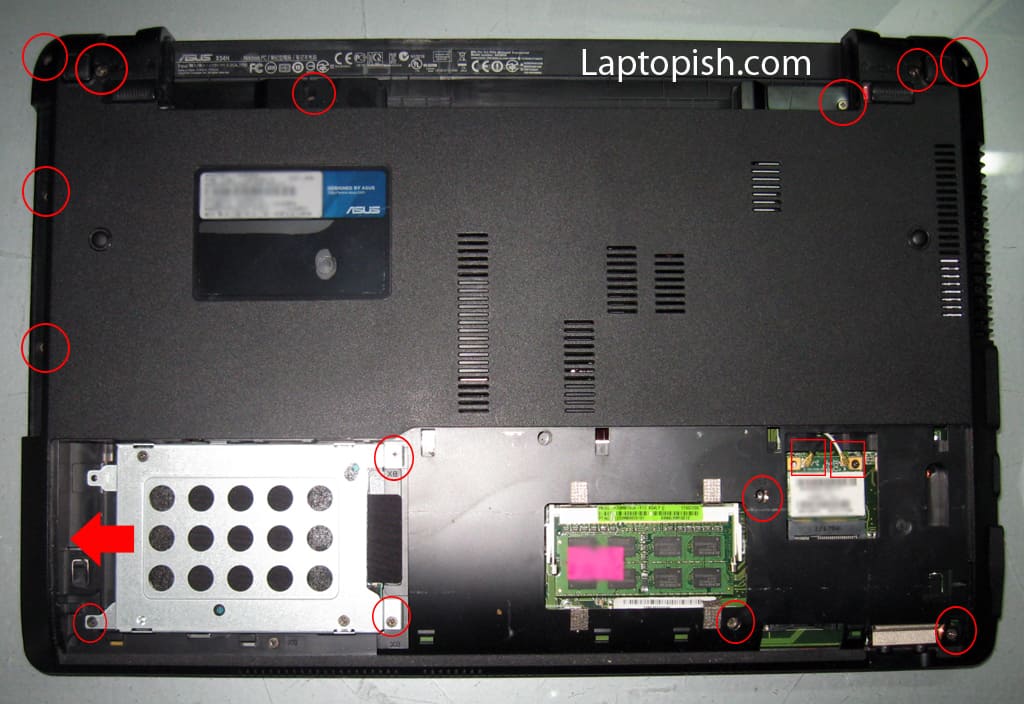
On the next picture are assigned the screws that need to be removed. Also with the red arrow is assigned the direction of pulling out the hard disk drive. Also at this point we detach the WLAN antennas.
After this step we can remove the upper cover,

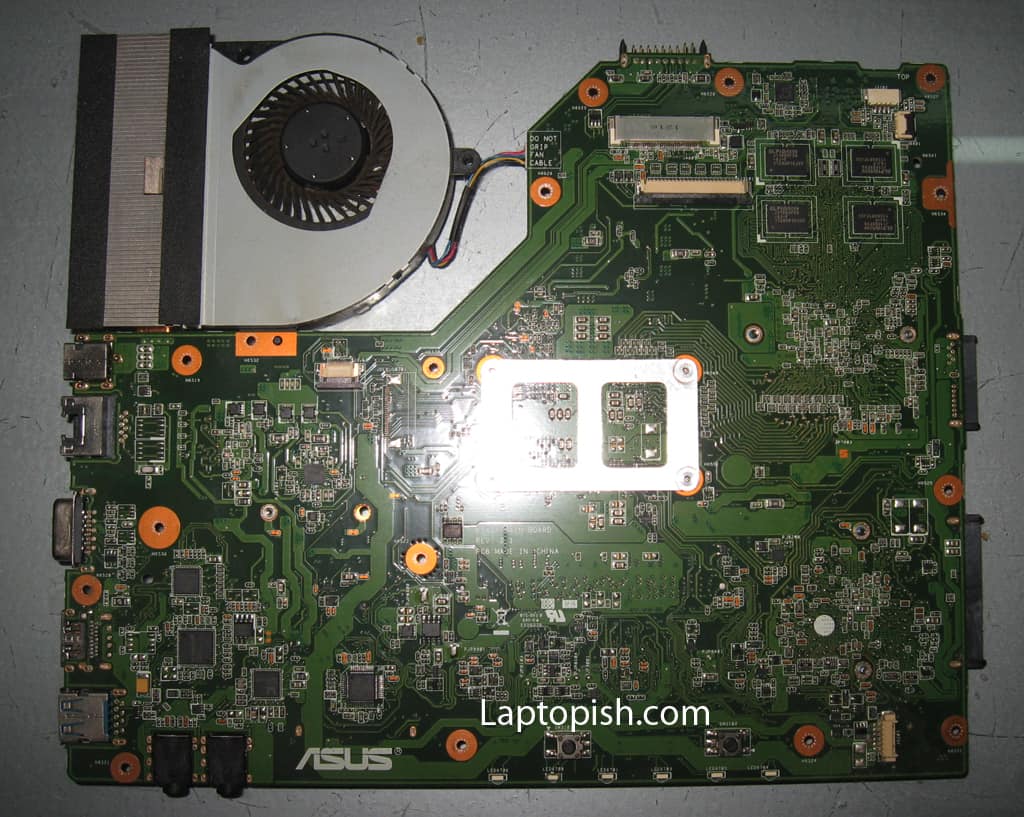
and we came to the motherboard.
There are couple cables that need to be detached (assigned with the red squares), and two screws that need to be removed.
 After that we can remove the motherboard from the casing.
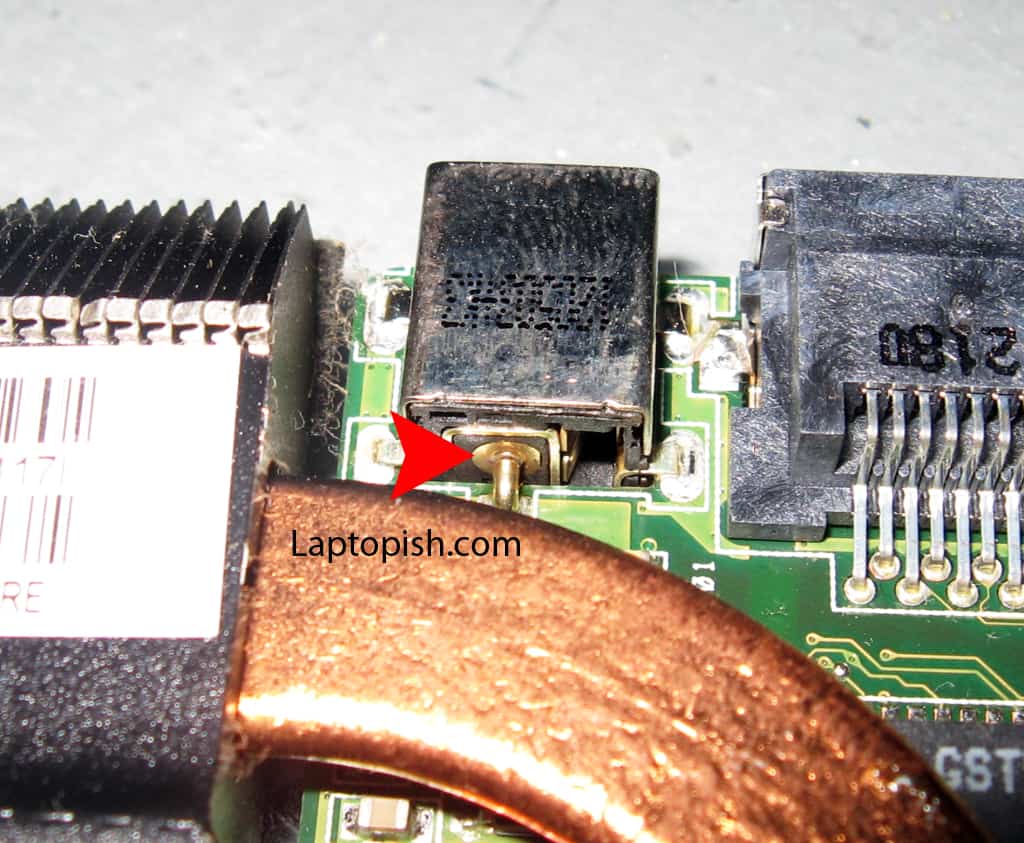
On the next picture we can see the damaged power jack. There is a crack on the positive wire.
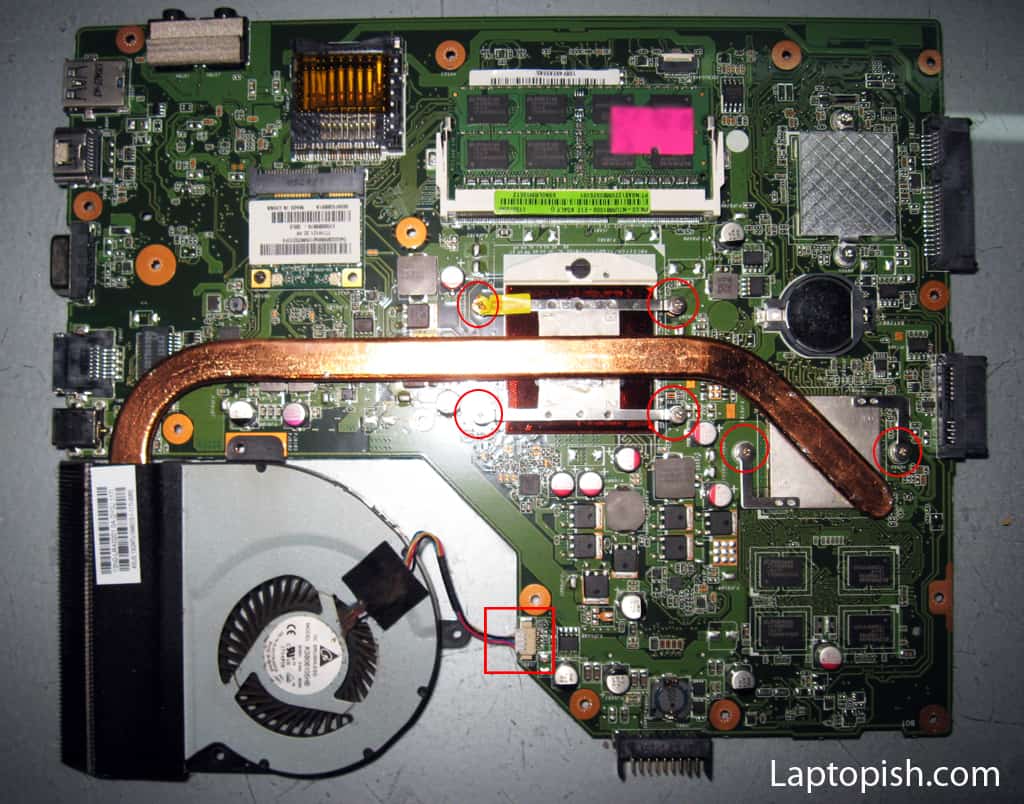
Next we remove the cooling system by removing the assigned screws on the next picture.
 We clean the processor and the graphic card from the old thermal paste.
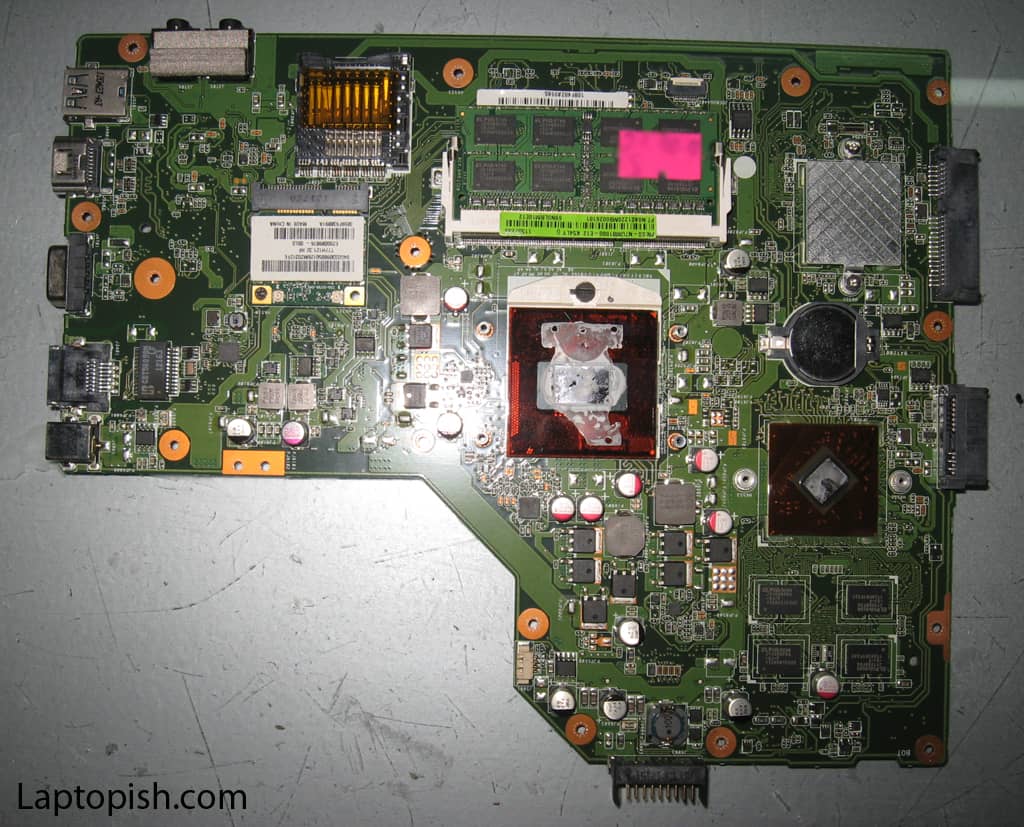 After the cleaning we have this situation.
 Now we can solder the cracked wire as its shown on the next picture.
 With the job done, we only need to assemble the laptop, but before that, we need to clean the cooler.
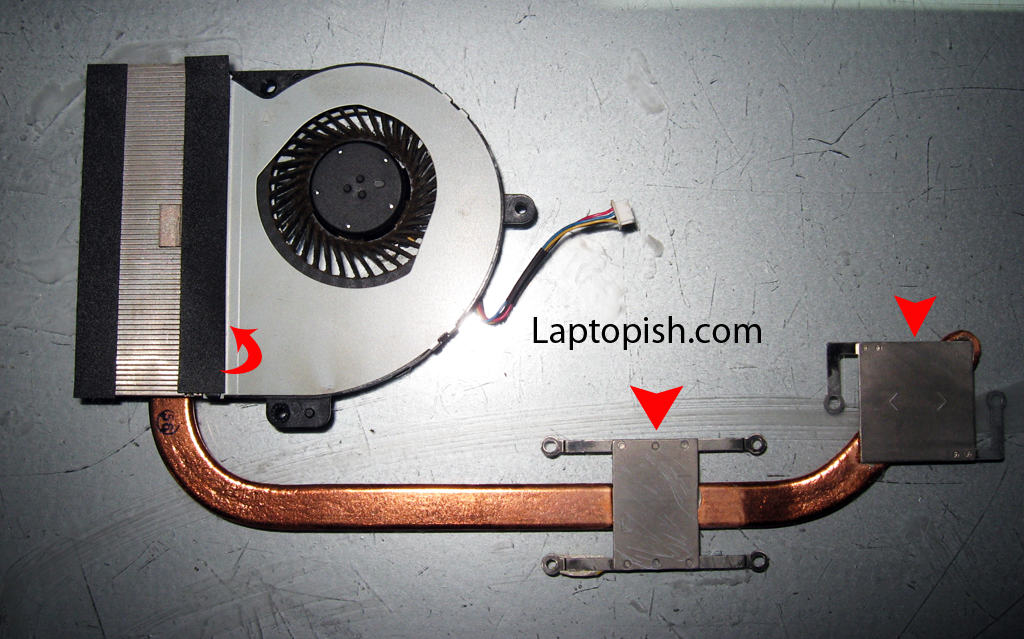 Under “cleaning the cooler” we meant to clean the contact surfaces from the old thermal paste and cleaning the cooler grills from the dust.

1 Comment
How do you get the solder like that?
The solder goes down for me, instead of up like you’re showing.
(up as in the broken contact)
Any tip?
Also, don’t you re-apply thermal paste?
TY